How does the chat in the webinar room work?
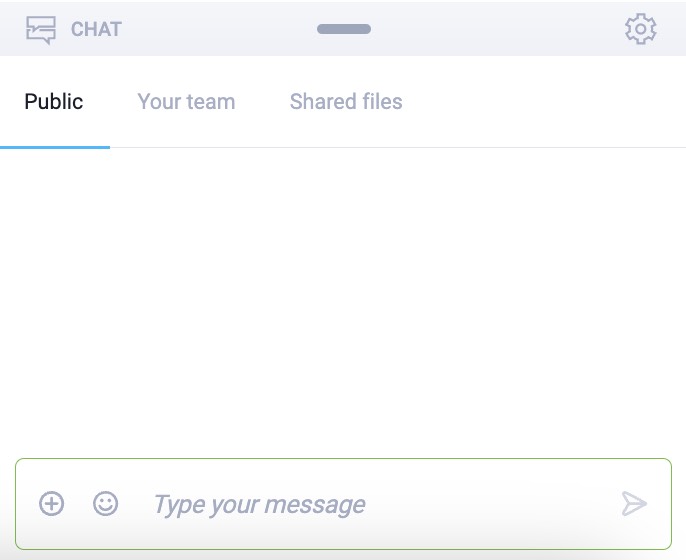
The chat window, available in the lower right corner of the webinar room, allows the organizer, presenters, and attendees to interact by exchanging text messages. To send a message in the chat window, click the message entry bar, enter your message, and click Enter. You can also add emojis to make it more interactive and express emotions more effectively. To do so, click the small emoticon available in the bar and choose among hundreds of suggestions.
In addition to exchanging messages and emojis, the chat window offers various interactive features to enhance engagement. From quick polls to dedicated Q&A sessions, private event team chats, and group discussions, these tools help foster a dynamic and interactive webinar experience.
Polls
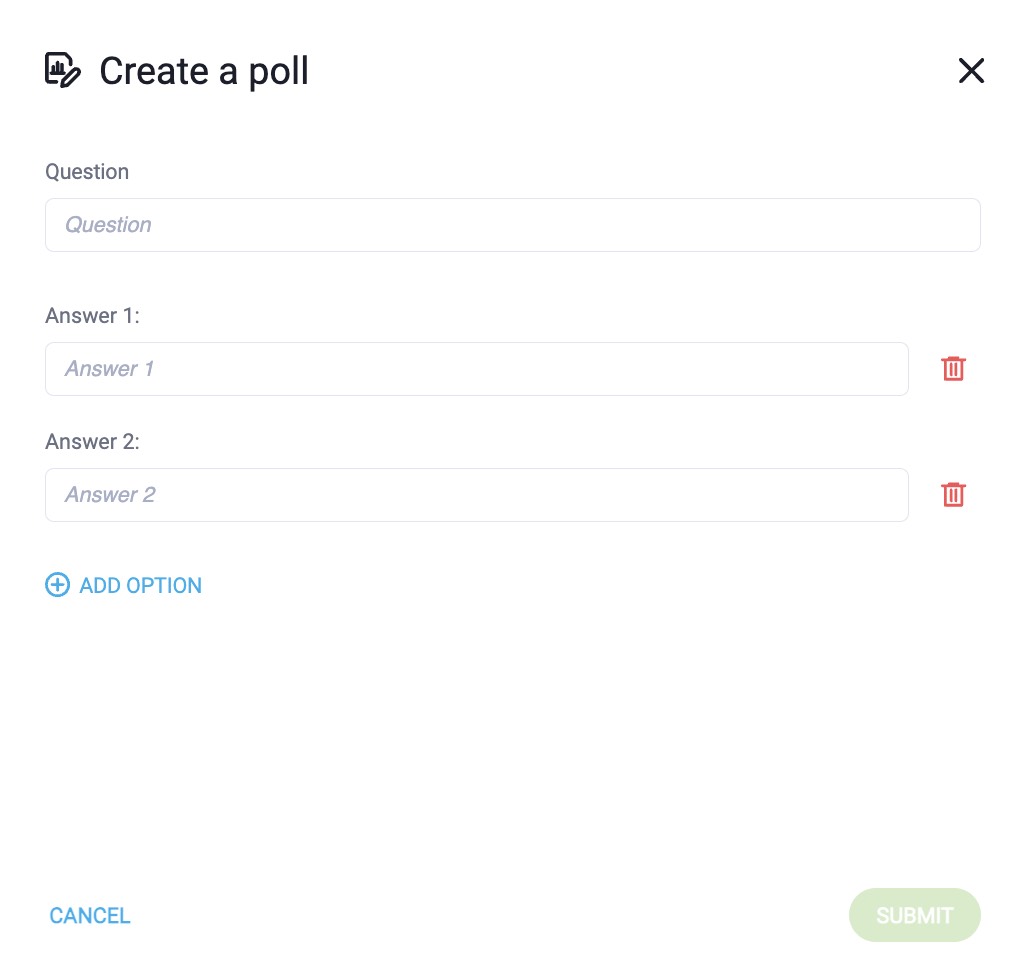
The chat allows you to create quick polls. To do this, click the “+” button and select the appropriate option.
After choosing the Create chat poll option, you will be able to insert your question and possible answers.
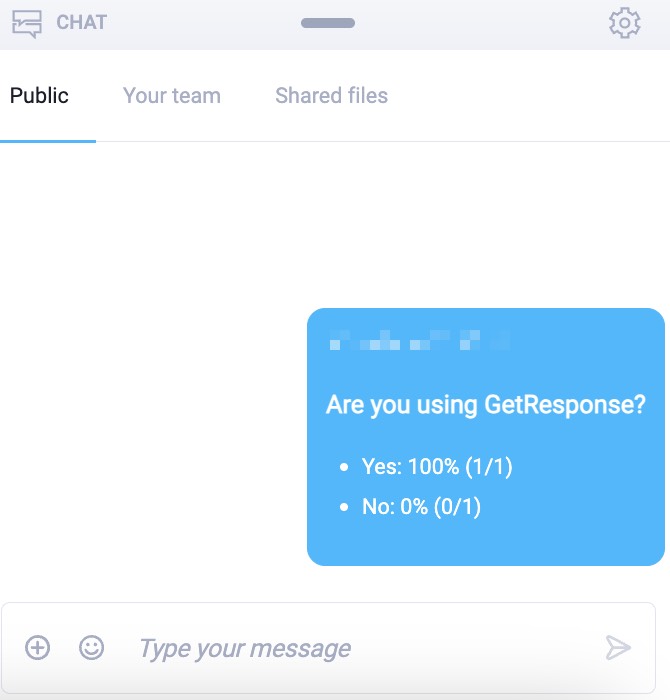
Once completed, the results will be published in the form of a post on the chat.
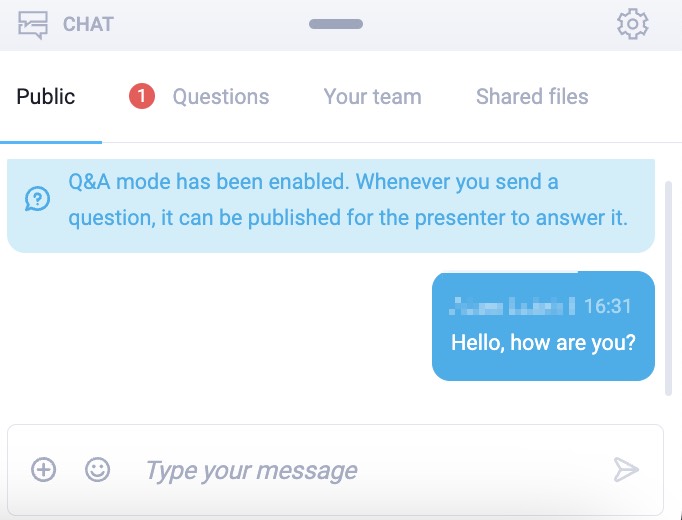
Q&A mode
You can create Q&A sessions and manage questions.
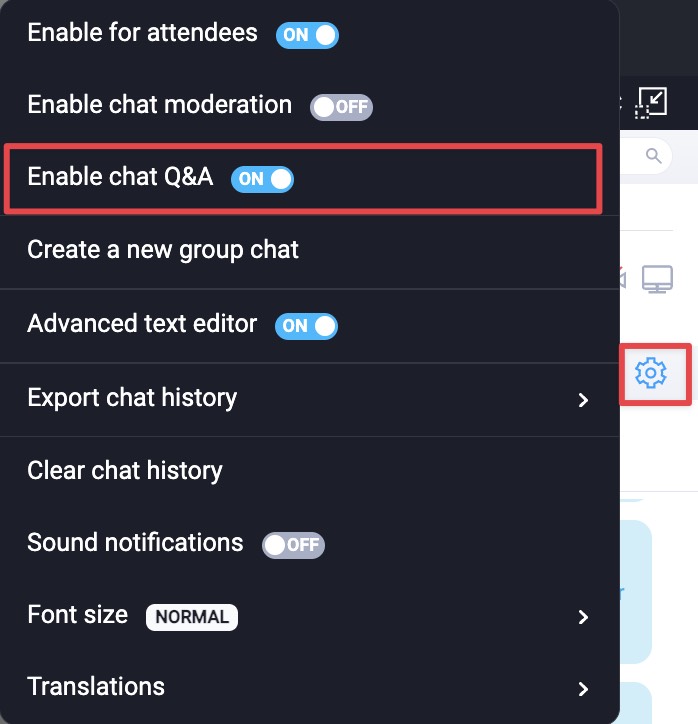
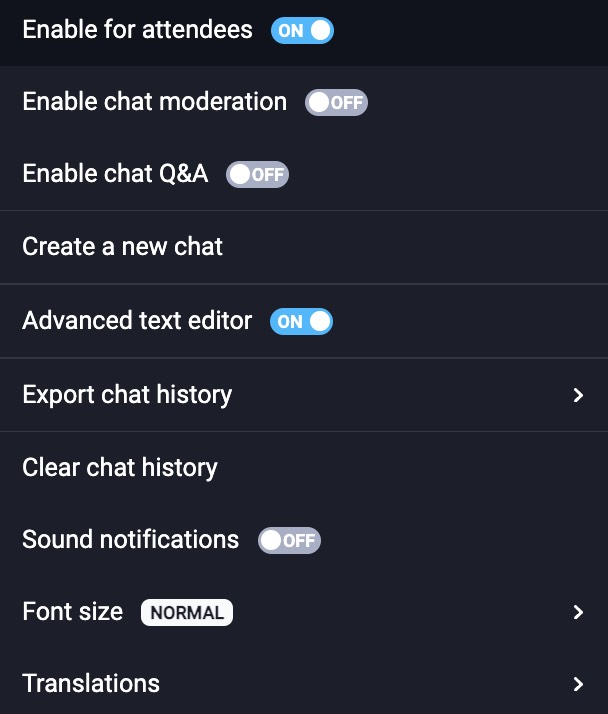
To enable the Q&A mode, open the chat settings and toggle Enable chat Q&A.
Questions asked by users will automatically be added to the Q&A session question pool.
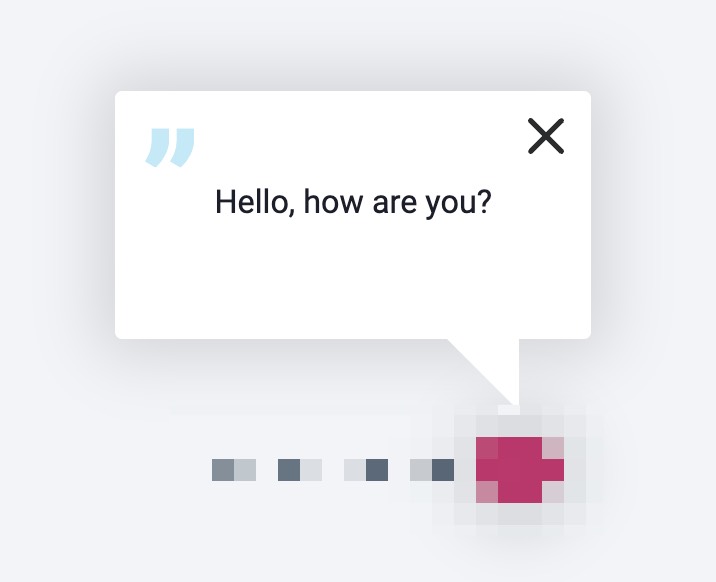
You can decide on your own whether to display them in the Questions tab. Simply scroll to the question and click Display.
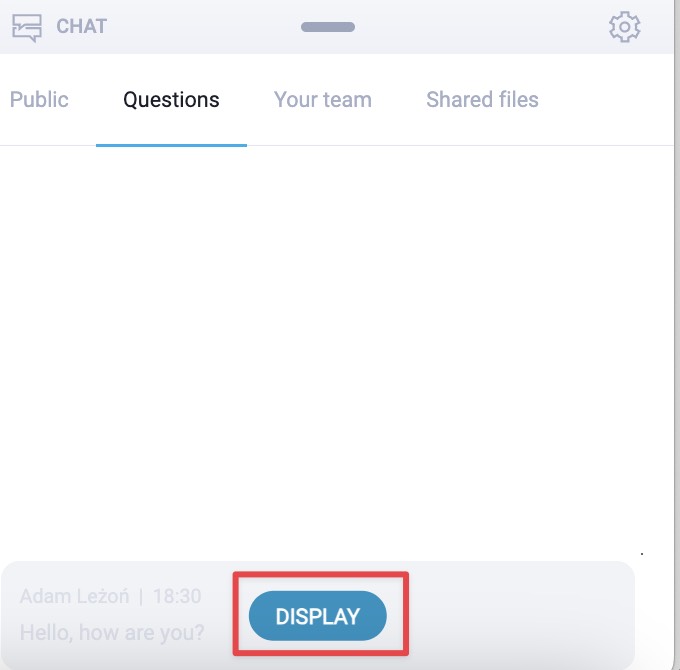
Once you do that, the question will be displayed in your webinar room.
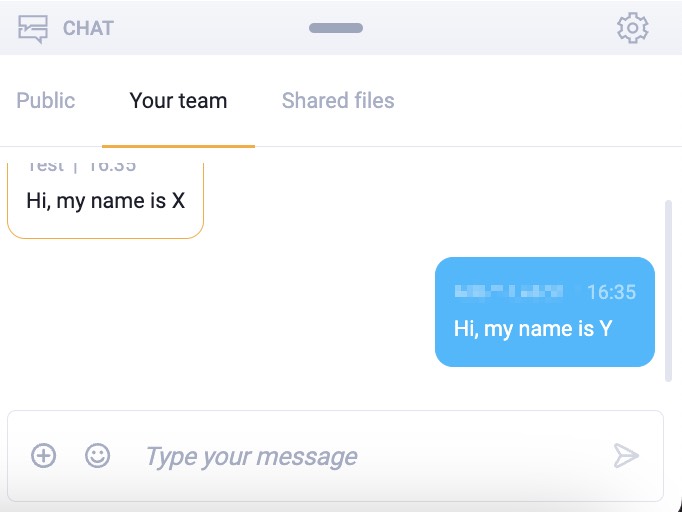
Event team chats
In the Your team window, event organizers, presenters, moderators, and/or support staff can host an independent chat hidden from other attendees.
This exclusive communication channel allows your event team to coordinate seamlessly, share important updates, resolve technical issues, and ensure the webinar runs smoothly – all without disrupting the participant experience.
Group chats
In the chat settings, you will also find the option Create a new chat.
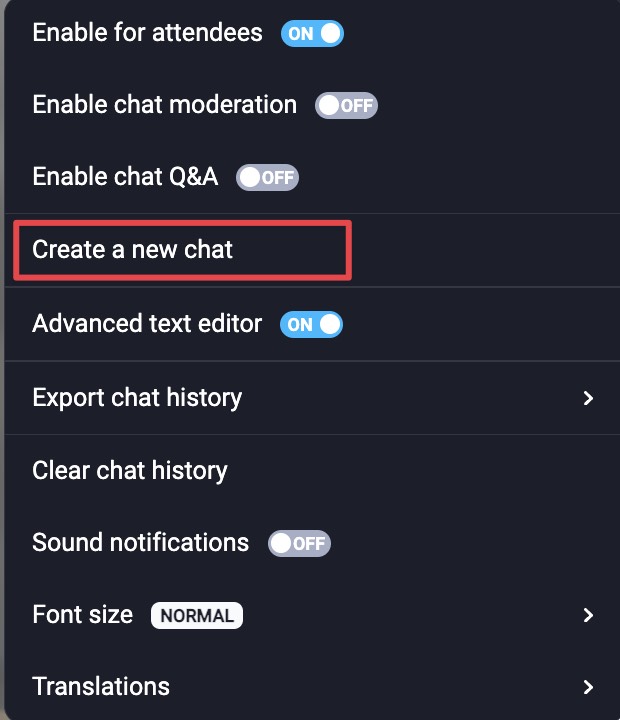
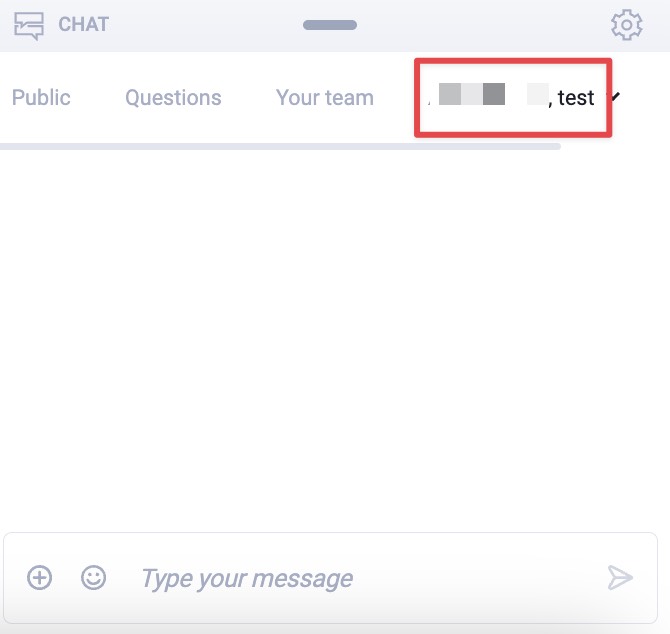
Once you have selected the appropriate participants to chat together, a new tab will appear in the chat window where you can have a separate group chat.
Moderating the chat
We have also introduced a Chat moderator role – they can support the organiser and presenters by responding to participants’ messages, approving and deleting messages from the moderated chat, or by starting a private chat with specific participants.
In the event room, the moderator can access and freely manage the chat settings. They also belong to your team. Other features and settings are not available to them.
The chat moderator takes place for a presenter. You would need to make sure that you have enough seats for your presenters, including the moderator.
There is a limit of 3 presenters (including the host) in a webinar room.
With the moderator’s role restricted to the chat area only, the organiser is assured that all other elements, features, and information about the room or participants remain invisible to the moderator.
Additional settings
Apart from the options mentioned above, our webinar chat feature also allows you to:
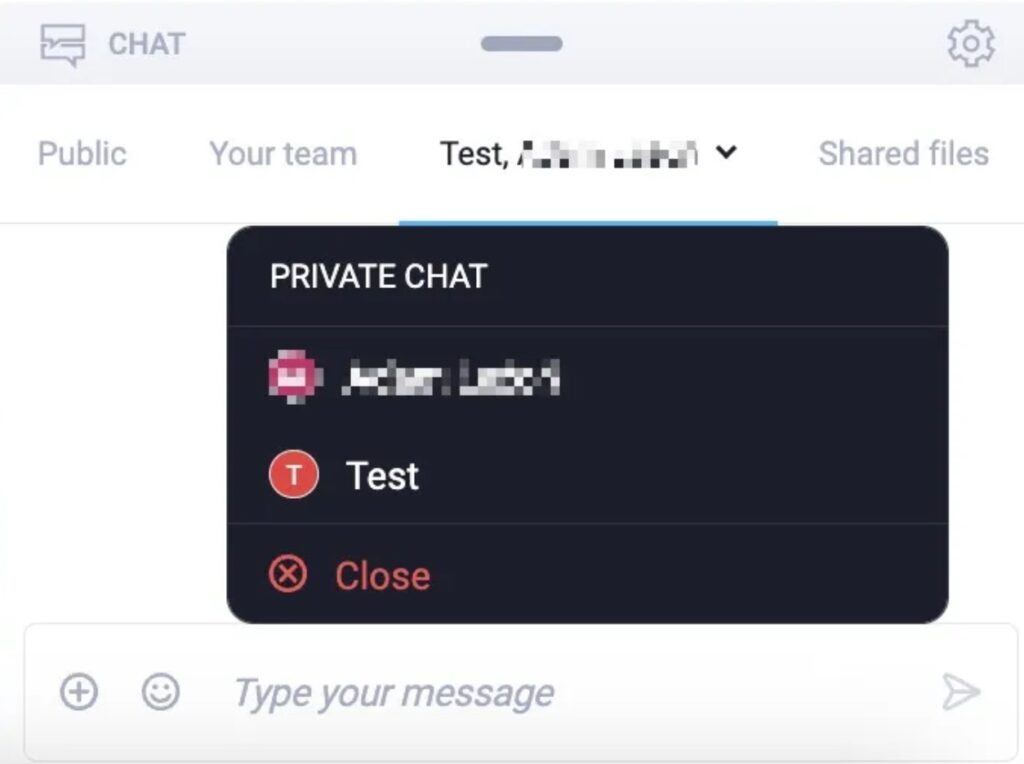
- Have private chats: the chat allows you to have conversations between the event organizer and attendees. You can start a conversation by selecting a specific attendee on the attendee list or via chat: to do so, click on the three dots next to the attendee’s message and select “Start chat.” A new tab will appear that will allow you to have a conversation hidden from other people.
- Upload files: the host can upload files available in the webinar’s file library via chat. To do so, use the plus icon and select the appropriate option.
A new tab, Shared Files, will appear in the chat window to make the downloading process easier for attendees. They will find all of the shared documents there. The attendees can download them on their computers. - Format the text: you can use various text input and editing modes. You will apply bold and italic text, strikethrough, bullets, numbered lists, quotes, and code fields, among others.
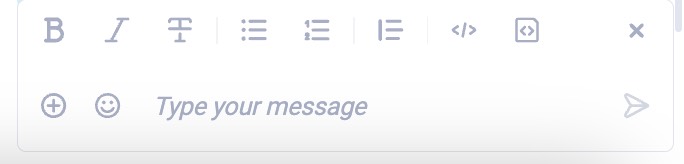
If you don’t need text editing in messages right now, you can hide these options by clicking on Chat options and setting ‘Advanced text edit’ to OFF.
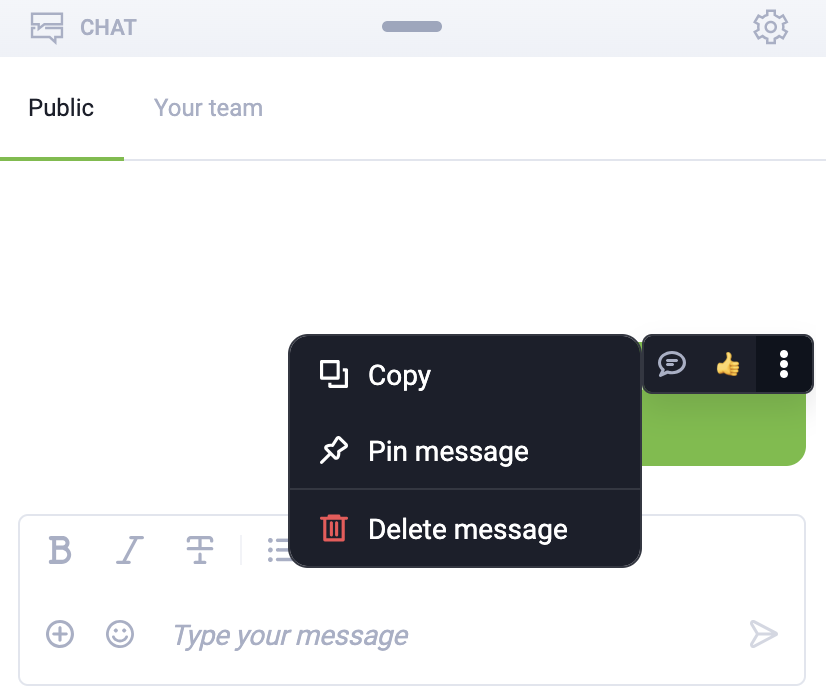
- Delete messages: In the public chat window, hover your mouse over the message you want to delete, click the three dots, and then select “Delete message”.
- Click the gear icon in the chat window to see more helpful options. Decide if you want to enable the chat window for your attendees or shut it down completely. You can also decide which content will be visible to your audience by choosing the moderated chat option. That way, only approved messages will appear in the chat window. We also highly recommend asking another presenter to manage the chat moderation on your behalf while you deliver your presentation.
- If you host events for multinational audiences, consider using a simultaneous translation of chat messages. Your attendees can choose one of 52 available languages and understand the conversation in their native language. The translations are immediately ready and visible in the chat window.
- At the end of the event, you can also manually export the chat history as a zip file. Chat records from breakout rooms will be included there as well. If you don’t do this, no worries. All conversations are saved automatically in the Storage.

