How to promote Courses in the message?
The Course box is a block that allows you to display courses in your messages and engage potential students. It offers your contacts the option to get familiar with your course and sign up with minimum effort. It supports all courses created in your account.
It includes the following elements:
- Thumbnail
- Title
- Description
- Price
- Button
It’s available to use in the following types of messages:
- Newsletters,
- Autoresponders,
- Automation messages,
- A/B tests,
- Templates.
Your contact will see the course you inserted in the message once it has been sent out. After clicking on the course enrolment button, the contact will be sent to the course page specified by you in the creation process.
How to add a course to the message
In order to add a course to the message:
- Open the message editor.
- Under Courses, click on the Courses box element.
- Drag it into the canvas of your message. The product box will create a new section where the product will be displayed.

- After clicking on the course box on the template, choose the course that you want to display. If you don’t have a course, you can create one under Tools > Courses > Create course.

- Once done, the selected course will appear on the newsletter canvas with all its details.

How to edit the course box design in the message
Layout and orientation
You can present your course in two ways—horizontally and vertically.
To do that:
- Select the course box on your message canvas.
- Go to the menu on the right and click the icon for the layout you want to have (horizontal or vertical). The layout of the course will change accordingly.

In each layout, you can decide how to arrange your course information.
- For the horizontal view, you can choose to have the image on the left and the description on the right, or the description on the left and the course thumbnail on the right.

- For the vertical view, you can have the course thumbnail first and the description underneath, or the description first and the image under it.

Content spacing

- Content spacing allows you to move the thumbnail of the course from its name, description, price, and CTA button. In the horizontal layout, the photo is moved from the rest of the product horizontally. In the vertical layout, we move the photo from the rest vertically. The default value for content spacing is 30 px.
Thumbnail
You can edit the image alignment horizontally (works only for photos that are less than 250 pixels wide).

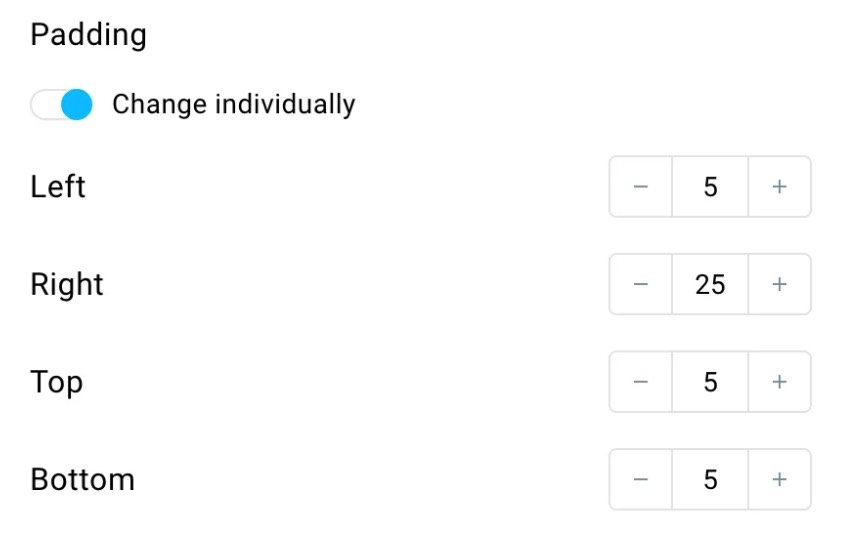
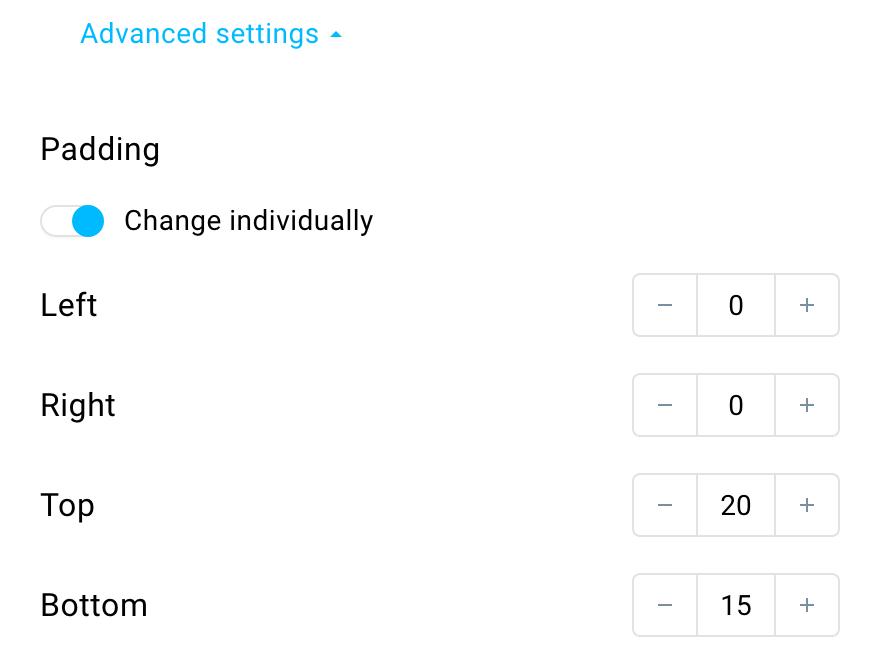
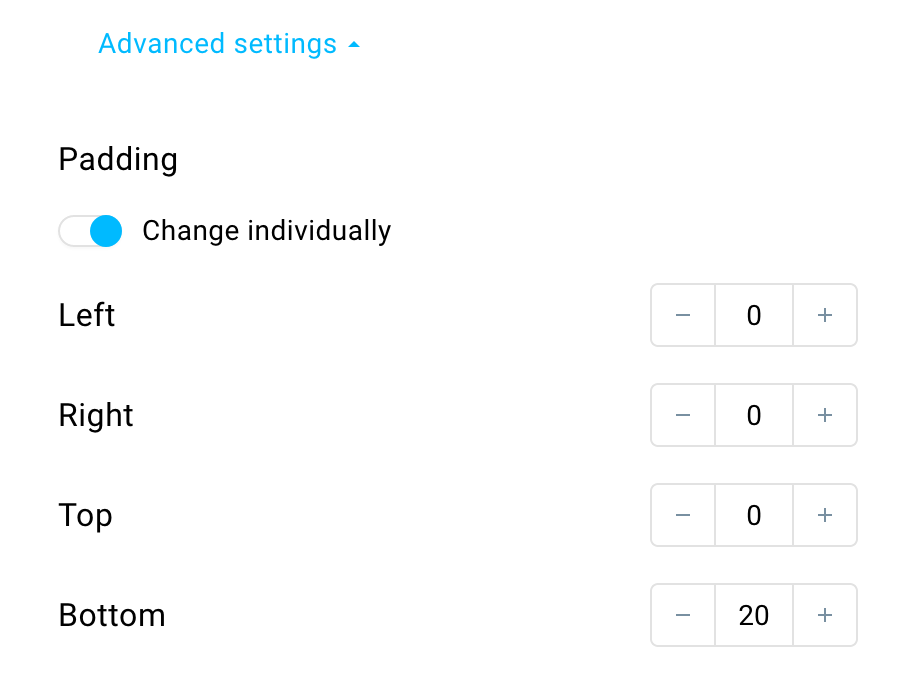
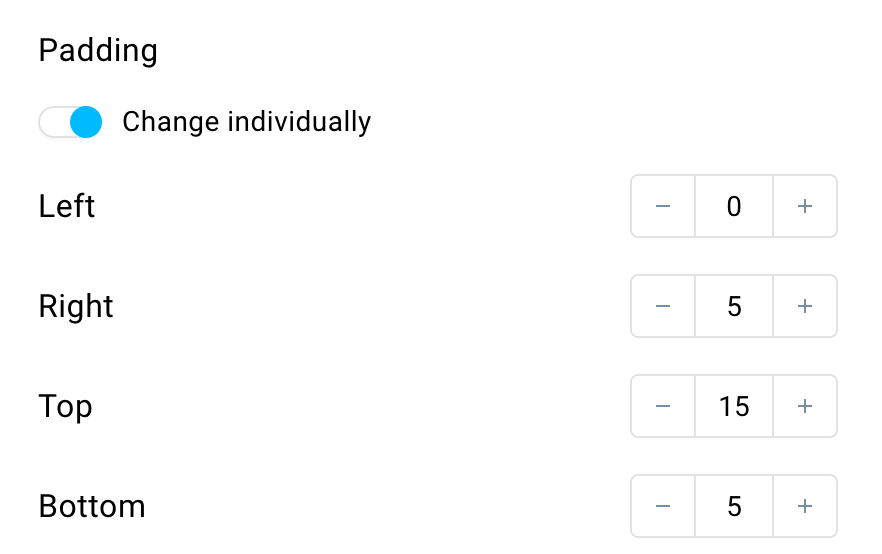
Under advanced settings, you can change the padding of the thumbnail: left, right, top, bottom. You can edit each value separately.
Title
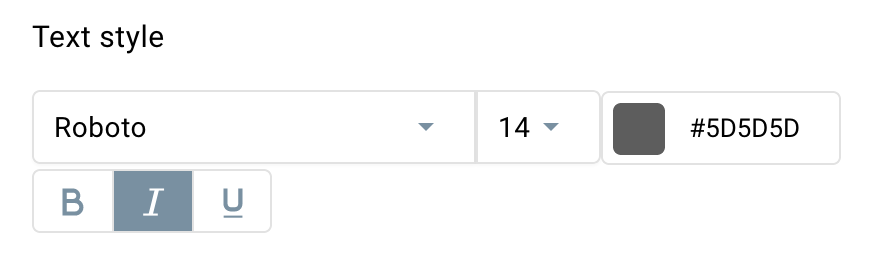
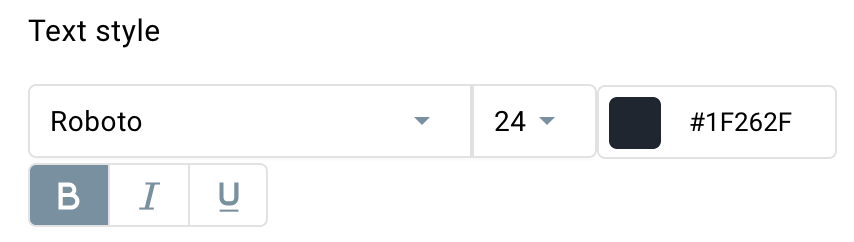
You can edit the text style of the course title: its font, font size, font color, and use bold, italic, and underline.

You can edit the text horizontal alignment: it can be aligned left, center, or right.

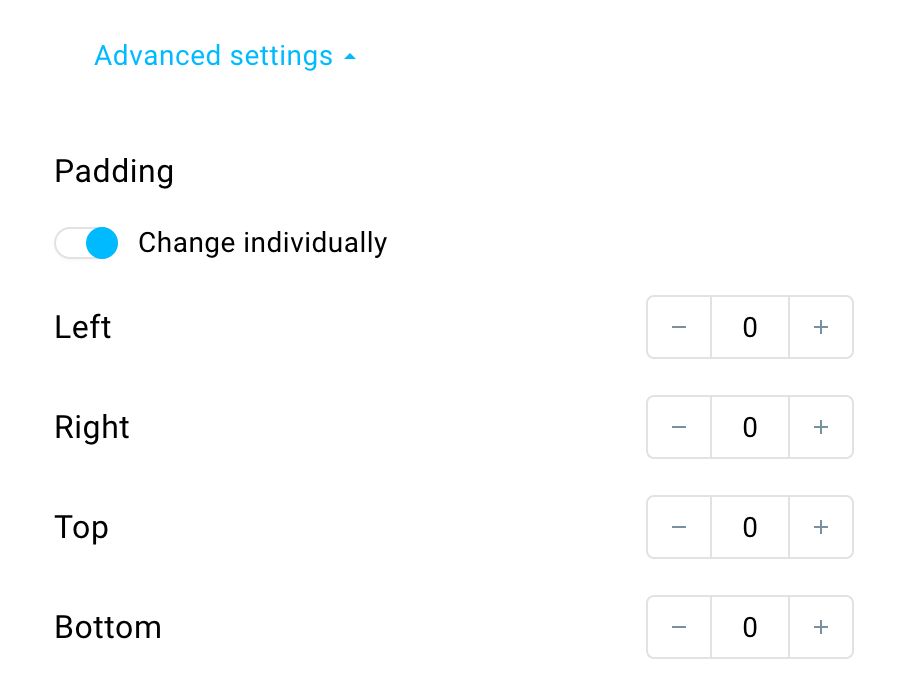
Under advanced settings, you can change the padding of the title: left, right, top, bottom. You can edit each value separately.
Description
You can decide if you want to include the course description in your message. Move the toggle to the left to hide the description. This setting is applied to desktop and mobile views automatically.

You can edit the description text style: its font, font size, font color, and use bold, italic, and underline.
You can edit the description horizontal alignment: it can be aligned left, center, or right.

Under advanced settings, you can change the padding of the description: left, right, top, bottom. You can edit each value separately.
Price
You can decide if you want to include the course price in your message. Move the toggle to the left to hide the price. This setting is applied to desktop and mobile views automatically.

You can edit the price text style: its font, font size, font color, and use bold, italic, and underline.
You can edit the price horizontal alignment: it can be aligned left, center, or right.

Under advanced settings, you can change the padding of the price: left, right, top, bottom. You can edit each value separately.
Button
You can edit the button text.

You are able to change the button text style: its font, font size, font color, and use bold, italic, and underline.

You can change the button shape.

You can edit the button color.

You can choose the button horizontal alignment: left, center, or right.

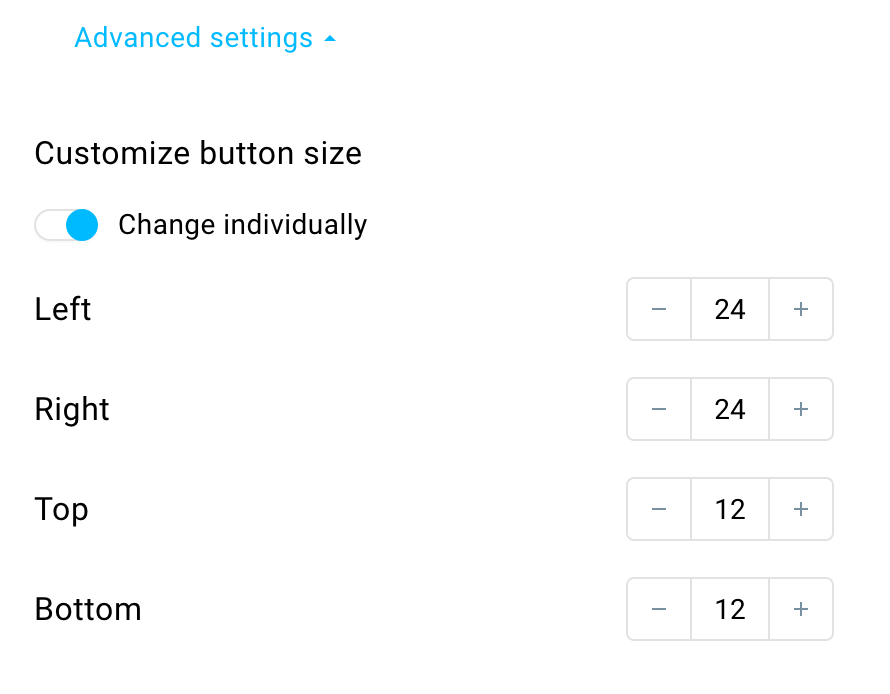
Under advanced settings, you can change the button size: left, right, top, bottom, or change them altogether.
You can also decide on the button padding: left, right, top, bottom. You can edit each value separately.
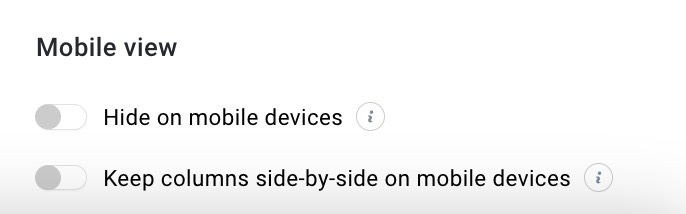
Mobile view
You can decide to hide the course box on mobile devices. The course box won’t be shown to contacts reading your email on a mobile device.
It is also possible to keep columns side-by-side on mobile devices. If you toggle that option on, columns will be displayed the same way they’re displayed on desktop.
Can I hide the price and the description of the course
You can choose if you want to display the price and the description of the course in the message.
To hide the price of the course:
- Click the course box in the message editor.
- Move on to the Price tab.
- Move the toggle next to Show price to the left to hide the price in the message.

To hide the description of the course:
- Click the course box in the message editor.
- Move on to the Description tab.
- Move the toggle next to Show description to the left to hide the description in the message.

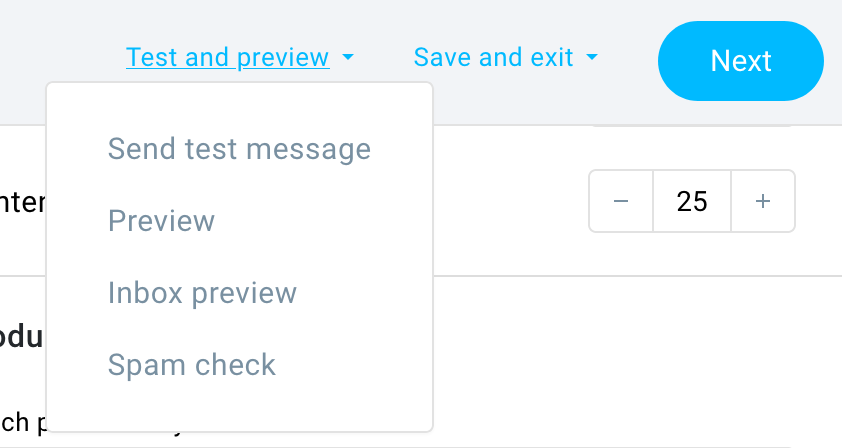
How to preview the course box
Once you’ve finished configuring your course box, you can see how it will look in Preview as well as on the sent test message and Inbox preview. The course boxes will also appear on the message thumbnails.