How to promote courses on my landing page or website?
You can now promote courses on your landing pages and websites using our Course box and Table of contents blocks. They allow you to display your course on websites and landing pages created in GetResponse, encouraging potential students to learn more about the offer and enrol.
Our course promotion tools can be used to help attract targeted traffic, build credibility through testimonials or success stories, and provide detailed information about the course content, pricing, and benefits. Additionally, they enable lead generation by capturing visitor information for follow-up and can drive conversions through clear calls to action, optimizing enrolment and revenue growth.
Currently, we offer two course promotion blocks:
- A Course box is a block that allows you to display courses on your websites and landing pages in order to engage potential students. It offers your contacts the option to get familiar with your course and sign up with minimum effort.
- A Table of contents can be used to display the chapters and lessons included in the course on a landing page or website. Making use of it can be beneficial if you want to familiarise potential leads with the offer of your course.
The steps of adding and editing the Course box and Table of contents are identical for both websites and landing pages.
Course box
- To add a course box to your landing page or website, click on the Add elements button.

- Under Courses, find the Course box element.

- Drag and drop the Course box element into your page content. Note that the editor will highlight the spots where you can drop it.
- After clicking on the course box on the template, choose the course that you want to display. If you don’t have a course, you can create one under Tools > Courses > Create course.

- The selected course will be displayed in the course box.
- If you want to edit the course box, click anywhere inside the course box background to activate the menu.

Design
Expand Design to edit the layout of your course box. You can choose between the 6 available layout patterns.

Fields
Expand Fields to edit the display of the: image, name, description, price, modules, lesson count, format and resources, and button.

To conceal a specific field from your course box, click on its name to expand it and move the toggle next to the name of the field to the left.

Box settings
Expand Box settings to customize box color, padding, border, radius, and shadow.

Visibility
You can easily and intuitively control the visibility of the Course Box or Content on mobile and desktop devices.
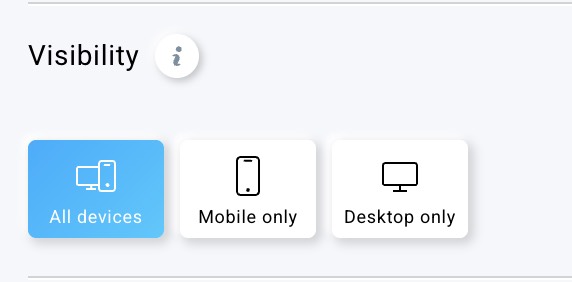
Table of contents
- To add a table of contents to your landing page or website, click on the Add elements button.
- Under Courses, find the Table of contents element.

- Drag and drop the Table of Contents element into your landing page. Note that the editor will highlight the spots where you can drop it.
- After clicking on the table of contents on the template, choose the course that you want to display. If you don’t have a course, you can create one under Tools > Courses > Create course.

- After selecting a course, the content of the course will be displayed on the landing page.
- If you want to edit the table of contents, click anywhere inside the table of contents to activate the menu.

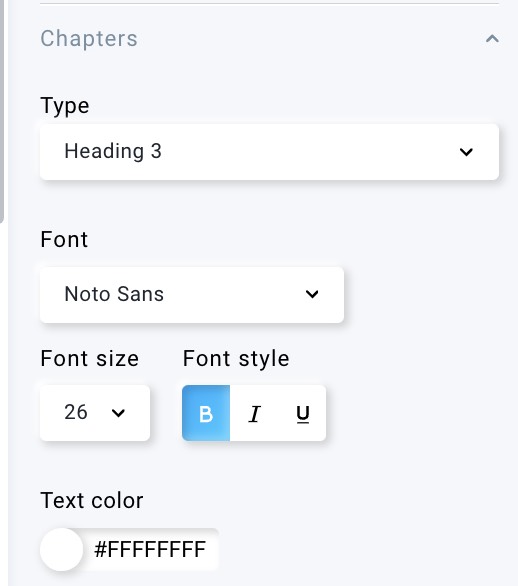
Chapters
You can edit the text style of the chapters: their type, font, font size, font color, and use bold, italic, and underline.
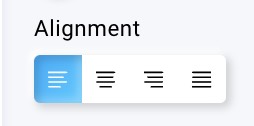
You can edit the text horizontal alignment: it can be aligned left, center, right or justified.
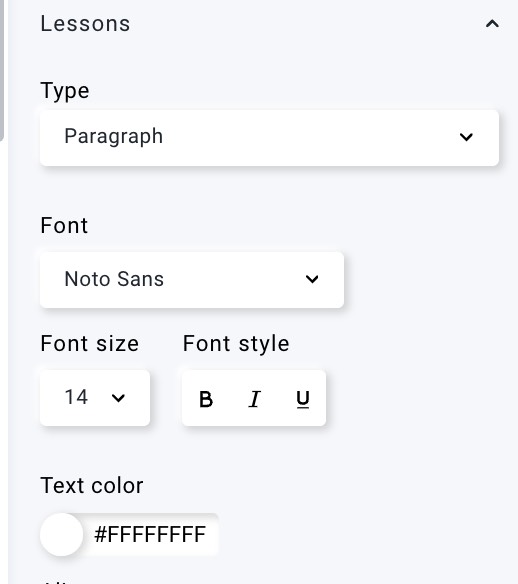
Lessons
You can edit the text style of the lessons: their type, font, font size, font color, and use bold, italic, and underline.
You can edit the text horizontal alignment: it can be aligned left, center, right, or justified.
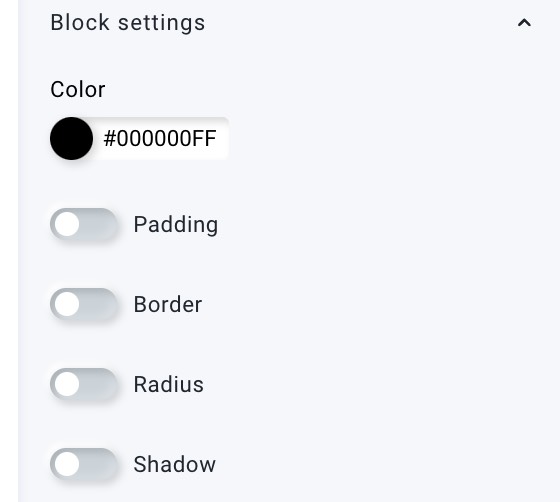
Block settings
In block settings, you can edit the color, padding, border, radius, and shadow of the table of contents.
Visibility
You can easily and intuitively control the visibility of the Course Box or Content on mobile and desktop devices.


